
Brownies are already loved by many people because they are soft, sweet, and full of chocolate. But when we add cream cheese on top, they become even better. Cream cheese makes brownies more creamy, rich, and a little tangy. It is like having a cheesecake mixed with a brownie. If you have never tried cream cheese brownies, this is your time to try them. This recipe is very easy. Anyone can make it at home with simple ingredients.
Ingredients You Will Need
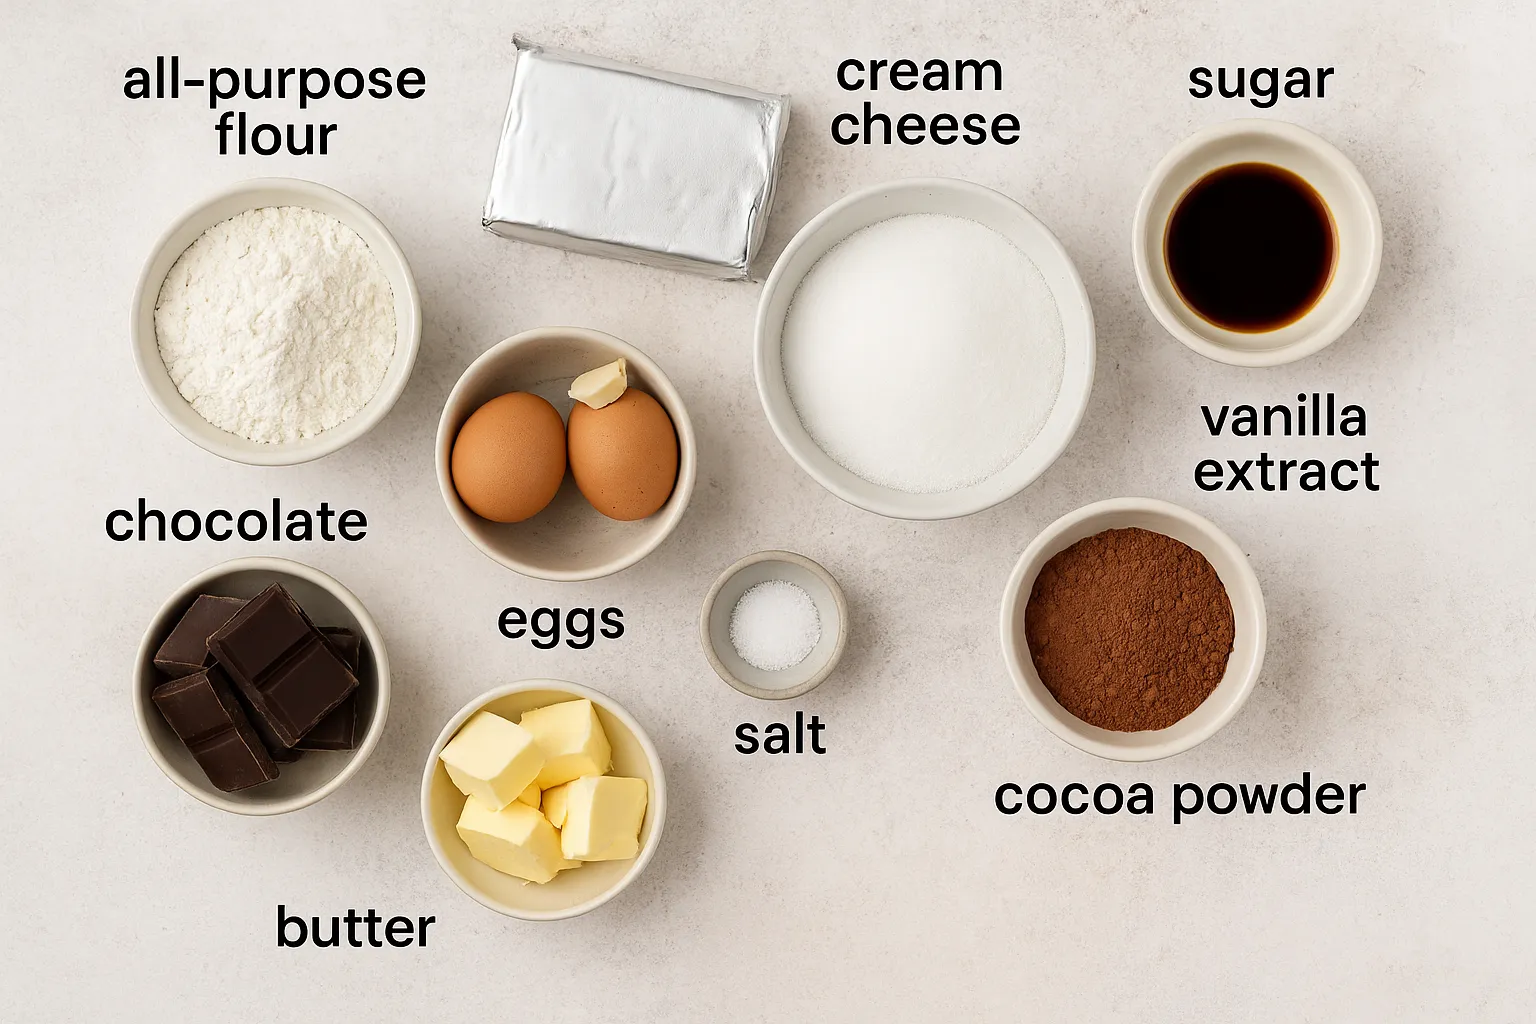
Here are the things you need to make cream cheese brownies at home. You can find all these items in any normal shop or supermarket.
For the Brownie Layer:
-
1/2 cup melted butter
-
1 cup white sugar
-
2 eggs
-
1/3 cup unsweetened cocoa powder
-
1/2 cup all-purpose flour
-
1/4 teaspoon salt
-
1/4 teaspoon baking powder
For the Cream Cheese Layer:
-
8 oz (1 pack) cream cheese (softened)
-
1/4 cup white sugar
-
1 egg
-
1/2 teaspoon vanilla extract
Directions to Make Cream Cheese Brownies
Let’s now see how to make these yummy brownies. Follow the steps one by one. It will take around 15 minutes to prepare and 30 to 35 minutes to bake.
Step 1: Preheat Your Oven and Prepare the Pan
First, switch on your oven and set it to 175°C (or 350°F). Then take a baking tray or a square pan. Grease it with a little oil or butter. You can also place parchment paper in it so the brownie doesn’t stick.
Step 2: Make the Brownie Batter
Take a bowl and mix melted butter and sugar together. Then add eggs, one by one, and mix well again. Now add cocoa powder, flour, salt, and baking powder. Mix everything until you get a smooth batter. This is your chocolate brownie layer. Keep it aside for a minute.
Step 3: Make the Cream Cheese Layer
Now in another clean bowl, put the cream cheese. Make sure it is soft and not too cold. Add sugar, egg, and vanilla extract to it. Mix everything until smooth. This cream cheese mix should not have lumps.
Step 4: Layer the Brownies
Take the brownie batter and pour most of it into your baking pan. Keep a small amount aside for later. Now gently pour the cream cheese layer on top of it and spread it evenly. After this, take the leftover brownie batter and drop small spoonfuls on the cream cheese. Use a knife or toothpick to swirl both layers. It will make a nice design on top.
Step 5: Time to Bake
Now place your pan in the oven. Bake for around 30 to 35 minutes. Keep checking after 30 minutes. If a toothpick comes out mostly clean (a little moist is okay), it means the brownies are done.
Step 6: Let It Cool and Then Cut
After baking, take the pan out and let it cool for 10 to 15 minutes. Then use a knife to cut the brownies into squares. You can eat them warm or let them cool more and store them in the fridge. Both ways, they taste amazing.
Also Read: How to Make a Simple Chocolate Cake at Home – Easy Recipe for Everyone
Why You Will Love Cream Cheese Brownies
Cream cheese brownies are perfect for many reasons. First, they are very soft and creamy. Second, they have two tastes in one—chocolate and creamy cheese. Third, you don’t need many items to make them. They are also perfect for birthdays, small get-togethers, or just as a treat after dinner. Even kids love them. You can also give them in lunch boxes or make them for picnics.
Also, this recipe is easy for people who are new to baking. No special machine is needed. Just two bowls and a spoon or hand whisk is enough. If you follow the steps slowly, you will get perfect brownies.
Some Tips to Make Them Perfect
-
Always use soft cream cheese. Take it out of the fridge 20 minutes before using.
-
Do not overmix the cream cheese layer. Keep it smooth.
-
If you like more chocolate, you can add some chocolate chips in the brownie layer.
-
Use parchment paper for easy cutting and clean baking.
-
Store leftovers in the fridge in a closed box for up to 3 days.